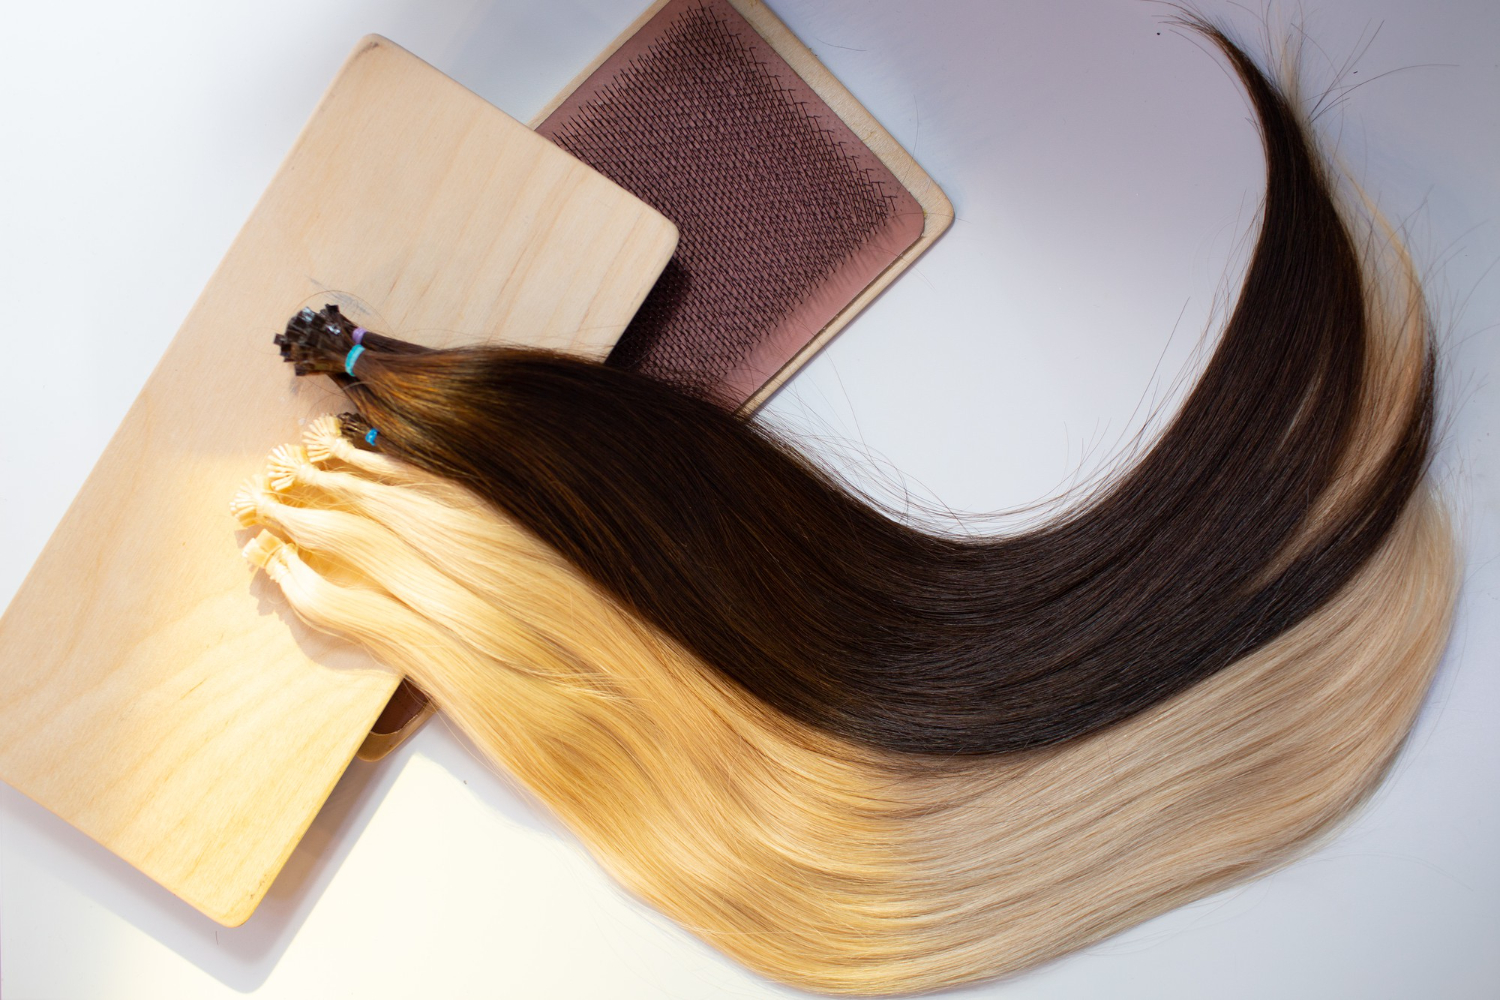
Glued-in hair extensions are a fantastic way to achieve a long-lasting, seamless look. But as your natural hair grows, the time comes to remove them. While a professional stylist is always the safest option for removal, we understand that sometimes you need to do it yourself. The key is to be extremely careful and patient to avoid damaging your natural hair.
Here is a step-by-step guide to safely removing glued-in hair extensions, using the right tools and techniques.
What You’ll Need
- Professional Glue Remover Solution: This is non-negotiable. Do not use acetone, alcohol, or other harsh chemicals, as they can cause severe damage to your hair and scalp.
- A Fine-Tooth Comb: A metal or strong plastic comb works best for gently breaking up the bonds.
- Sectioning Clips: To hold your hair out of the way.
- A Towel: To protect your clothing and catch any drips.
- A Mirror: A handheld mirror or a second mirror to help you see the back of your head.
Step-by-Step Removal Guide
Step 1: Prep Your Hair Start with dry, detangled hair. Use your sectioning clips to section off the hair, working on one small section at a time. Begin with the bottom-most row of extensions and work your way up.
Step 2: Saturate the Bond Take your professional glue remover and apply a few drops directly onto the glue bond. Make sure the entire bond is saturated with the solution. You should see it start to change texture and look slightly gooey.
Step 3: Let the Solution Work Give the remover solution time to break down the adhesive. Follow the instructions on your specific product, but generally, you should wait for 30 seconds to a minute. Do not rush this step.
Step 4: Gently Break the Bond Using the end of your fine-tooth comb, gently tap or wiggle the glue bond. You’ll feel it start to loosen and crumble. If it’s still hard, apply a little more remover and wait longer.
Step 5: Slide the Extension Out Once the bond is soft and feels like it’s breaking apart, gently slide the extension out of your hair. It should come out with very little to no resistance. If you feel any pulling or tugging, stop and apply more remover. Never pull or rip the extensions out. This will cause breakage and bald spots.
Step 6: Remove Any Residue After the extension is removed, you may have some residual glue in your hair. Apply a little more remover to the area and use your fine-tooth comb to gently comb out the remaining adhesive.
Step 7: Final Wash & Treatment Once all the extensions are removed, it’s essential to thoroughly wash your hair. Use a clarifying shampoo to get rid of all the remover solution and any leftover residue. Follow with a deep conditioning treatment to nourish and rehydrate your hair.

Important Warnings
- Patience is Key: This process takes time. Rushing will lead to damage.
- Do Not Pull: If an extension is not coming out easily, the bond is not fully dissolved. Apply more remover and wait.
- Use the Right Products: Only use professional, purpose-made glue remover solutions.
By following these steps and prioritising the health of your natural hair, you can successfully remove your extensions at home.